
This is the fifth article on the “Recording and Streaming your event”.
In this post, I cover details of the recording and streaming software.
Table of content of the series:
- Standing on the shoulders of giants
- Audio
- Screen Capture
- Filming the Talent
- Recording & Streaming Software
- Miscellaneous
- Conclusion and Suggested Kits
- Rant
- Starter Kit for small venue with one presenter
- Advanced Kit for big rooms and capturing venue’s provided audio
- Options and Add-onsRecording & Streaming Software
Now that we’ve detailed the different components that creates the basic feeds, lets see how we can produce something coherent from there, and what we need to do so.
The video Mix
As I said earlier we usually do a picture-in-picture (PIP) mix of the screen capture plus the talent on the bottom right, or side by side with background:
Depending on your setup and capabilities, you might prefer one or another. The PIP mode (on the right) allows to have the screen in full mode, which works better when watching on a mobile device. That’s fine most of the time, but you need to be able to quickly toggle off the picture if it’s over some important content. So in this view, you can’t leave it running unmanned, an operator needs to watch the content and quickly hide the talent feed when needed. That’s why I love using the Elgato Stream Deck for quick access.
The side by side view is good too, and allows you to leave it running unattended, as the screen will always be visible. The drawback is that you’re not using as much of the screen output available. If you record at a resolution of 1080, you might be using only a bit over 720p for the screen capture, which might be annoying when displaying code and the viewer is already getting a downgraded version from, say, YouTube, because their setup does not support the bitrate required.
The Audio Mix
Since we use Microphones, and HDMI may carry the presenter’s laptop sound, that’s the only audio we want mixed in our output. Everything else-WebCam, Laptop Mic and so on-must be muted in your software.
For the Laptop audio, if you use a HDMI splitter it may or may not work, depending on the device, and it’s valid for everything you have in-line, and how the Audio output is configured on the presenter’s laptop. Thankfully, not many presenters need sound, but if needed, you should probably check before each session, and think about how the audience can hear it if you are using a PA system.
When you have more than one presenter, it’s always good to make sure they are mixed together on both left and right channels, and not one speaker is in one ear and the other speaker in the other. When using something like the UMC204HD, you will probably need to configure your software.
When you have a panel session, with three or four speakers, using 2 lapel Microphones can work, if well positioned, with an acceptable level of noise. Make sure they sit close enough, and the microphone is far enough from their mouth.
Even when your audio sounds perfect when you test on your laptop, whether you’re streaming or you publish a recording, it can sound awful on some devices (namely Android >v7, but potentially others). Thorsten Butz, who was looking after the PSConfEU recording this year found that it’s an issue that Android does not support well.
1 – As @TobiasPSP already mentioned, we replaced a bunch of videos from @PSConfEU 2019 to avoid audio issues . It took a while to understand the problem. I learned a lot about “pulse shift” and recognized that only Android (starting from v7) delivers noise on some recordings.
— 🏳️🌈 Thorsten Butz (@thorstenbutz) July 8, 2019
I’ll ask him for more details, but I think it’s an encoding issue, where a stereo signal is encoded but badly decoded by Android phones, and the solution is to either encode the video again with a different codec, or same codec but in dual-mono instead of stereo.
My Recording Computer
The indispensable, but most expensive bit of kit you’ll need is the computer that will run the software, and be connected to all those other devices.
We often find laptops to do the recordings by asking the organisers. It does not need much, usually a good CPU, enough USB ports (3 minimum) and the OBS software installed (goes without saying, up-to-date USB drivers). If the laptop match the requirements, there’s usually no problem to do a decent recording, but you ought to test it or if your CPU is not enough, your frame rate will drop badly, see below.
However, because my current (soon old) laptop, a Surface Pro 3, can barely handle it and I needed another machine for some other work, I bought an Intel NUC to specialise for the job (along with some other things). I have a Skull Canyon with 32 GB of RAM. The amount of RAM is overkill for this usage, but the CPU (Intel Core i7-6770HQ) is just about enough to do streaming and recording while mixing a few sources with some level of down-scaling. I mostly use Livestream Studio software because I bought a license (more on that later, but it may consume more resource than OBS). The downside of this setup is that it does not run on battery, so if the cable is inadvertently unplugged, the PC shuts down…
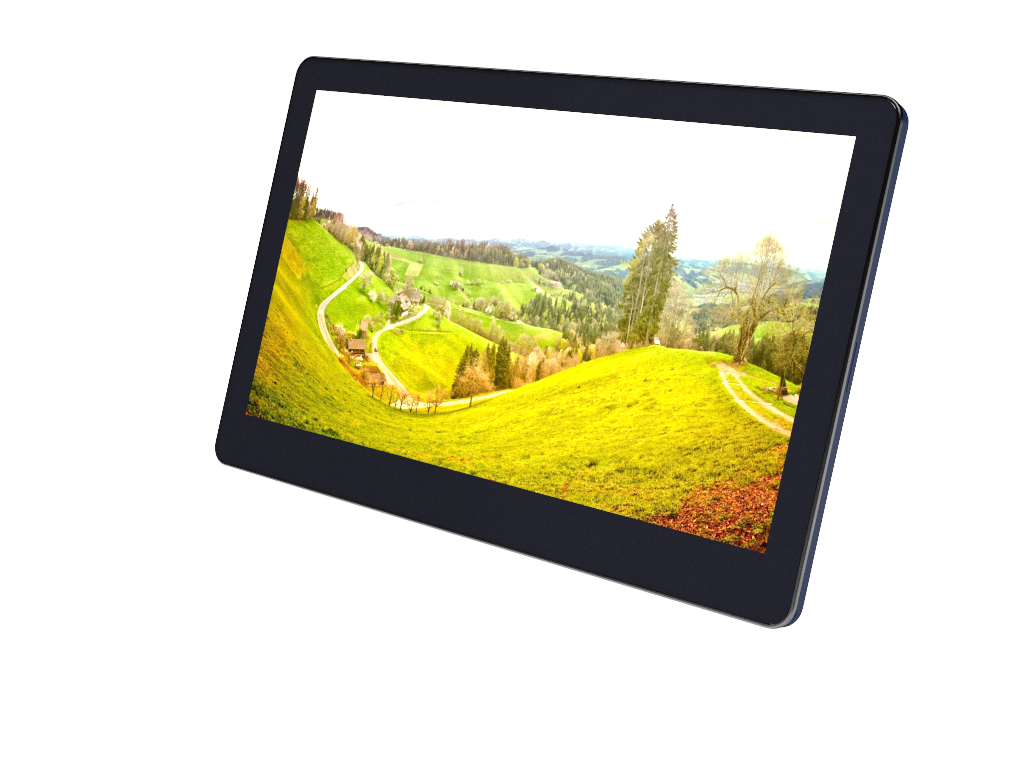 To go with it I bought a portable screen, the GeHic 1503I, which is a 15.6″ touch screen with HDMI and other inputs. I also use it as a second screen when travelling for work and it’s very convenient.
 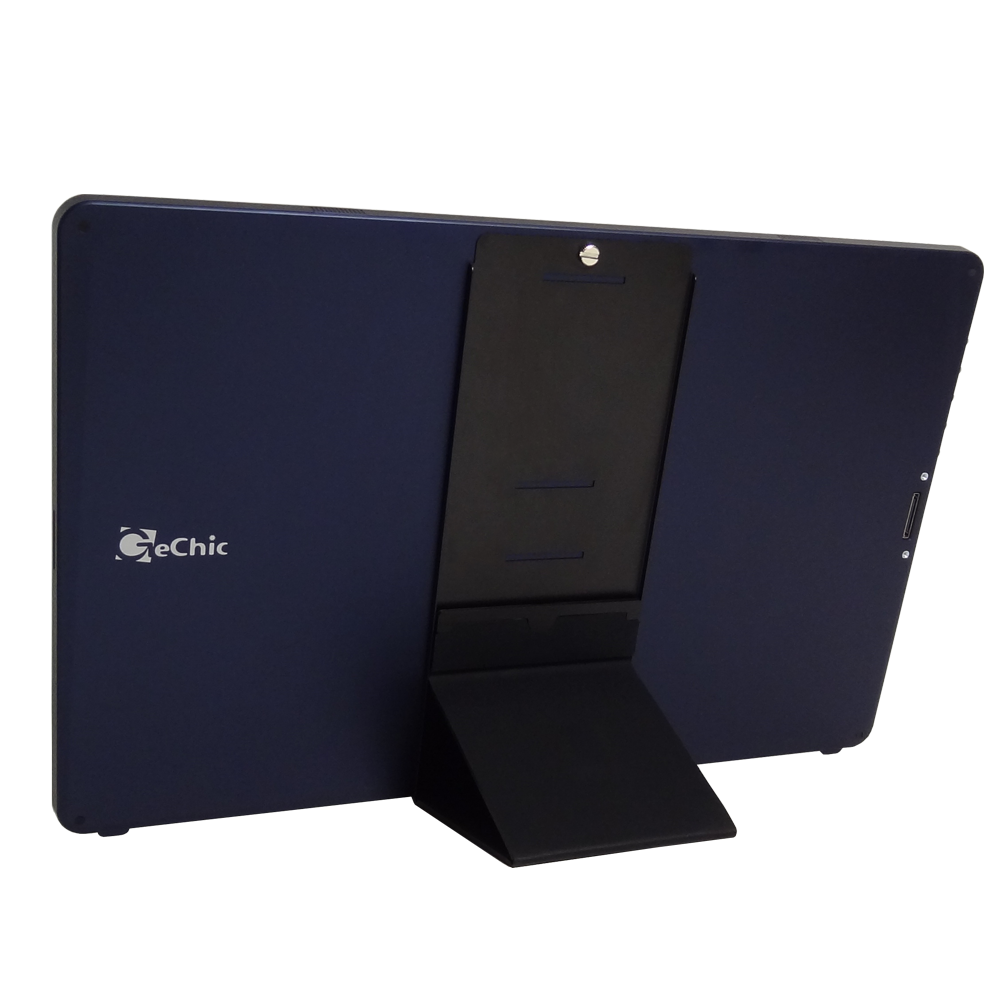 The touch screen is practical with the Livestream Studio software interface, although the stream deck (coming next) is still best for quick access some functions.
I also have some varying wireless mouse and keyboard depending on what I want to travel with.
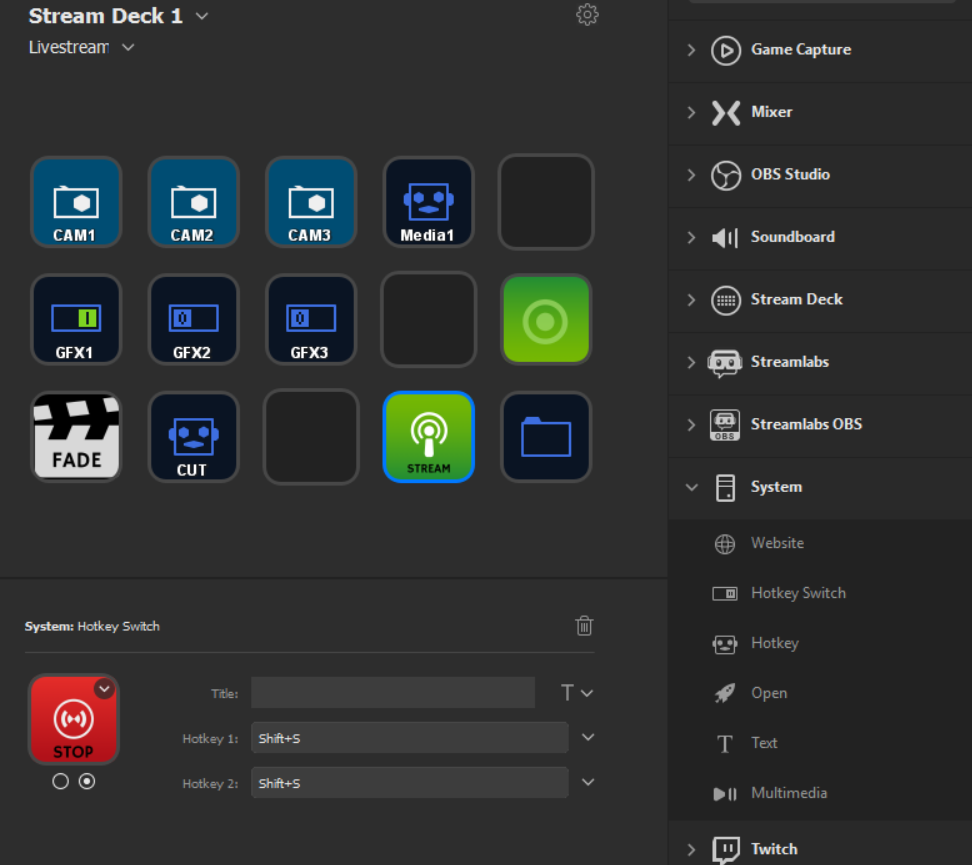
Elgato Stream Deck
That might be my favourite little gadget! It’s not mandatory, but it makes life easier by bringing some commands directly to your desk, outside your computer.

The Elgato Stream Deck with 15.
The principle is simple and brilliant: a small USB keyboard where keys are LCD panels, with some knowledge of what has been pressed, and what action to execute when they are pressed based on their context.
It’s not well integrated with Livestream Studio, but you can configure it like a custom keyboard that executes macros of your choosing, in a clever way. As an example, you can have a toggle button that switch on and off a feature with a different macro to enable and disable it.
Writing this, I just realised they have three models, the initial 15 buttons (which I own), a mini (6 buttons), and now an XL with 32 buttons. I haven’t tried the other two, but I feel like the 15 button is a good option, because the main reason is to have a limited and very visible way to reach some common features (i.e. bring or hide graphics or feed). The keys can also be organised as a folder, so you can also “extend” and “organise” the actions you register, but you can also load a specific “App profile” based on the current app in focus on your computer.
All in all, this is a very nice little device I always use.
USB Hub
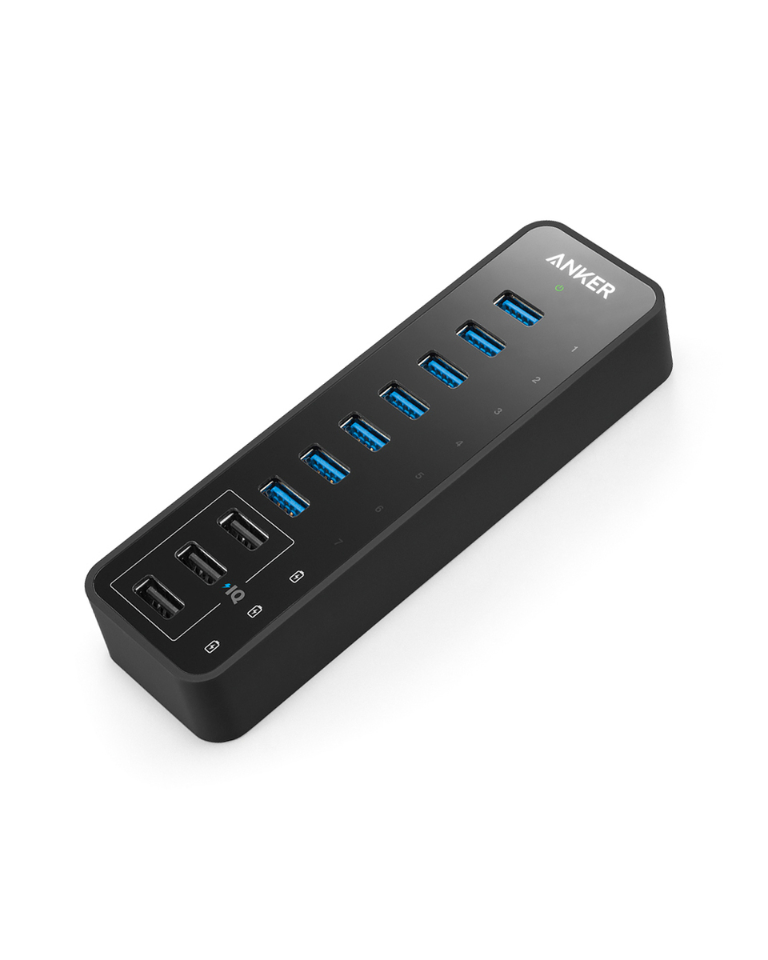 Although the Skull Canyon has just enough port for a camera capture, screen capture, an audio interface and mouse plus keyboard, I bought a powered Anker USB3 HUB with 10 ports, and that’s a great addition.
I can use it to power things like the screen, charging my phone, HDMI splitters and connect my Elgato Stream Deck. Worth saying again that you won’t be able to plug multiple demanding devices through the USB hub, such as multiple capture device or USB Camera. Things will just fail with no error message, and no apparent reason.
OBS
The Open Broadcaster Software is an amazing free and open source software. It has a lot of feature, is not particularly hard to use, and does a great job at recording and streaming. There are many plug-ins and features too.
Details about the software would needs a blog post in itself, but others have done it.
The basic principle is that you create scenes, and for each scene you create your mix of sources (inputs) and arrange the layout.
The order in which you arrange them changes the order of the layers (z-index), so the background image should be at the bottom, and the captured video feed you want to be above everything else at the top. For the first and main scene, we usually add the background image first, then the talent capture on the bottom right, the CamLink in the top left, and the audio input capture (doesn’t matter where you add it, as it does not obstruct any display).
Don’t forget to add your audio input capture to each scene.
You can create several scenes and switch between them with a configured transition, such as “fade for 300 milliseconds”. If you create more than two scenes you want to switch between, I suggest you select the “studio mode”. That let you see which scene is pre-selected on the left (preview), what is the current program on the right, and allow you transition from the Preview to Program.
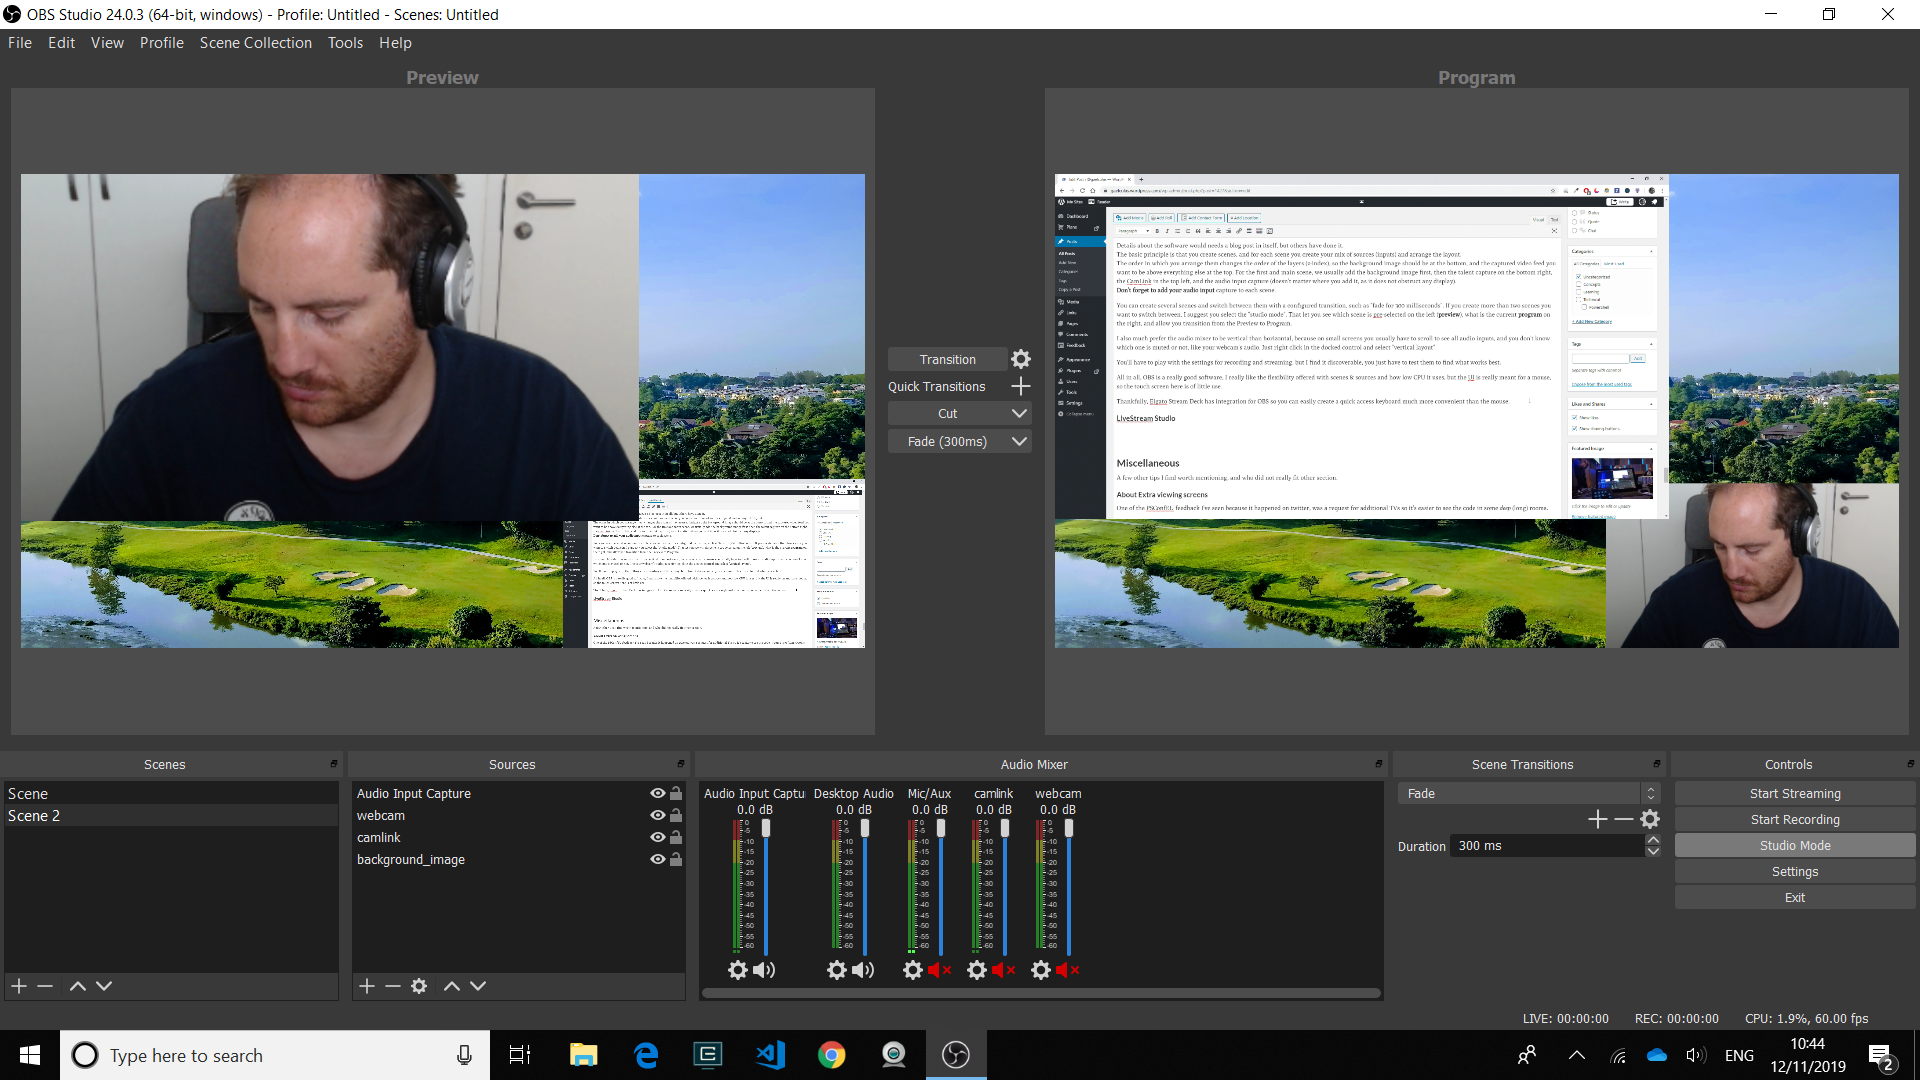
OBS typical configuration with webcam input, screen output, background, two scenes and audio input.
I also much prefer the audio mixer to be vertical than horizontal, because on small screens you usually have to scroll to see all audio inputs, and you don’t know which one is muted or not, like your webcam’s audio. Just right click in the docked control and select “vertical layout”.
You’ll have to play with the settings for recording and streaming, but I find it discoverable, you just have to test them to find what works best.
All in all, OBS is a really good software, I really like the flexibility offered with scenes & sources and how low CPU it uses, but the UI is really meant for a mouse, so the touch screen here is of little use.
Thankfully, Elgato Stream Deck has integration for OBS so you can easily create a quick access keyboard much more convenient than the mouse.
LiveStream Studio
I bought a license for Livestream Studio and I really like the interface, especially when using a touch screen.
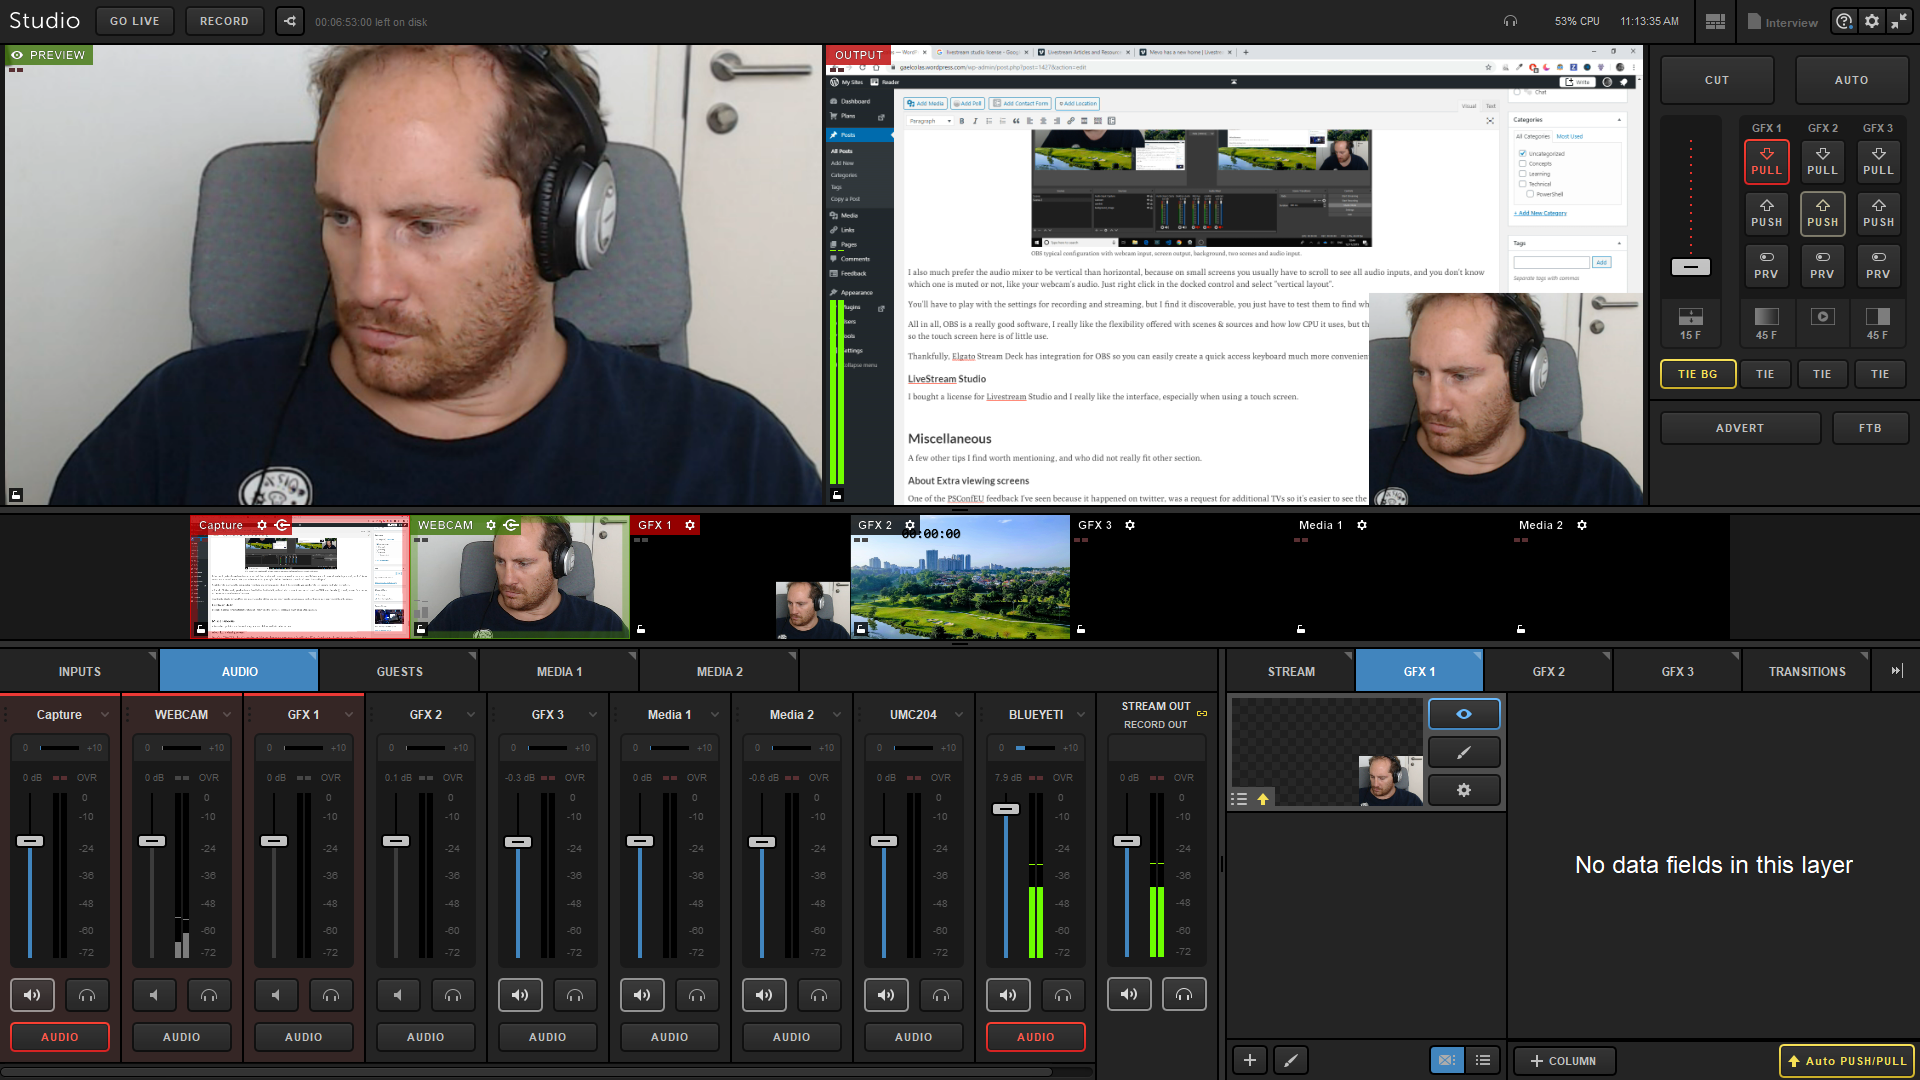
The biggest drawback I found compared to OBS (besides increased CPU usage), is that it does not use the same principle as OBS of scenes. It offers instead a graphics (GFX) approach, where you can overlay your graphic on the existing program.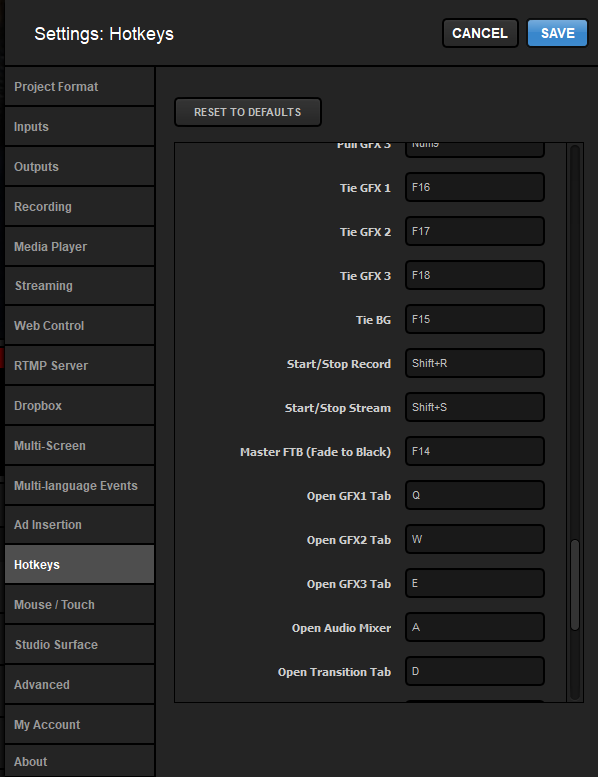 You can still treat your GFX as a camera input (making it essentially the same), but you are also limited to 3 GFX (on the license I use), which is not much when you leverage other features such as lower thirds, green screen, Twitter or chat integration and so on…
I’ll let you explore the features on their web page as it’s well done, and only highlight a few points which makes me see the value of paying for it.
First of all, I find it a bit more stable to configure camera feeds compared to OBS. In OBS, I often loose the feed from the Video Capture Device and I need to either select another source and come back to that source, or unplug the USB and plug it back again. A bit annoying, but it rarely happen more than once or twice a day. In Livestream, I’ve had no issue so far.
Similar to other software, you can stream and record at the same time, and what you stream through the Livestream service is also recorded. It’s easy to configure other stream provider, such as YouTube or twitch, should you wish to do so. I like the Livestream Platform as it’s less distracting than YouTube, but at the same time I agree that YouTube is where everyone is. I don’t know for other platforms, but for Livestream and the studio, as soon as a session is finished, I can create a “post” out of it in the event configured, and the session’s video is available straight away. I can trim the video directly from the web interface, on my phone, while recording the next session – pretty cool, maybe other services are the same, I don’t know.
While it does not have integrations with the Elgato Stream Deck like it has with OBS, StreamLabs or Twitch, managing hotkeys is pretty easy, so setting up the Stream Deck for Livestream Studio is straight forward.
Finally, this software has other features built-in that I’d like to use more, but haven’t invested much time tweaking them. A newer addition though is the Interview feature I will probably use, once I can have a session with less lag (but could have been the network, my only test was me in Kuala Lumpur, with people from Perth and Sydney, Australia).
I do use the chroma key feature every now and then, as you can see below. The main challenge is lighting and camera settings (tip: set the c920 manual), but I find the Livestream software easy to setup for that too.
If you have more questions about my experience with this software, feel free to hit me up. I know it’s not always easy to gain experience with a limited time trial. And if there’s enough question or interest, I can always create another blog post just on this.
NEXT: Miscellaneous

I just found this and I wanted to leave a quick note thanking you for taking the time for such a high quality, well organized article/post. There’s a ton of info here that’s perfectly relevant for my new duty as streamer for my church. I. Sure I’ll spend a lot of time pouring over your discoveries and suggestions. These really are “notes worth sharing”!
LikeLike